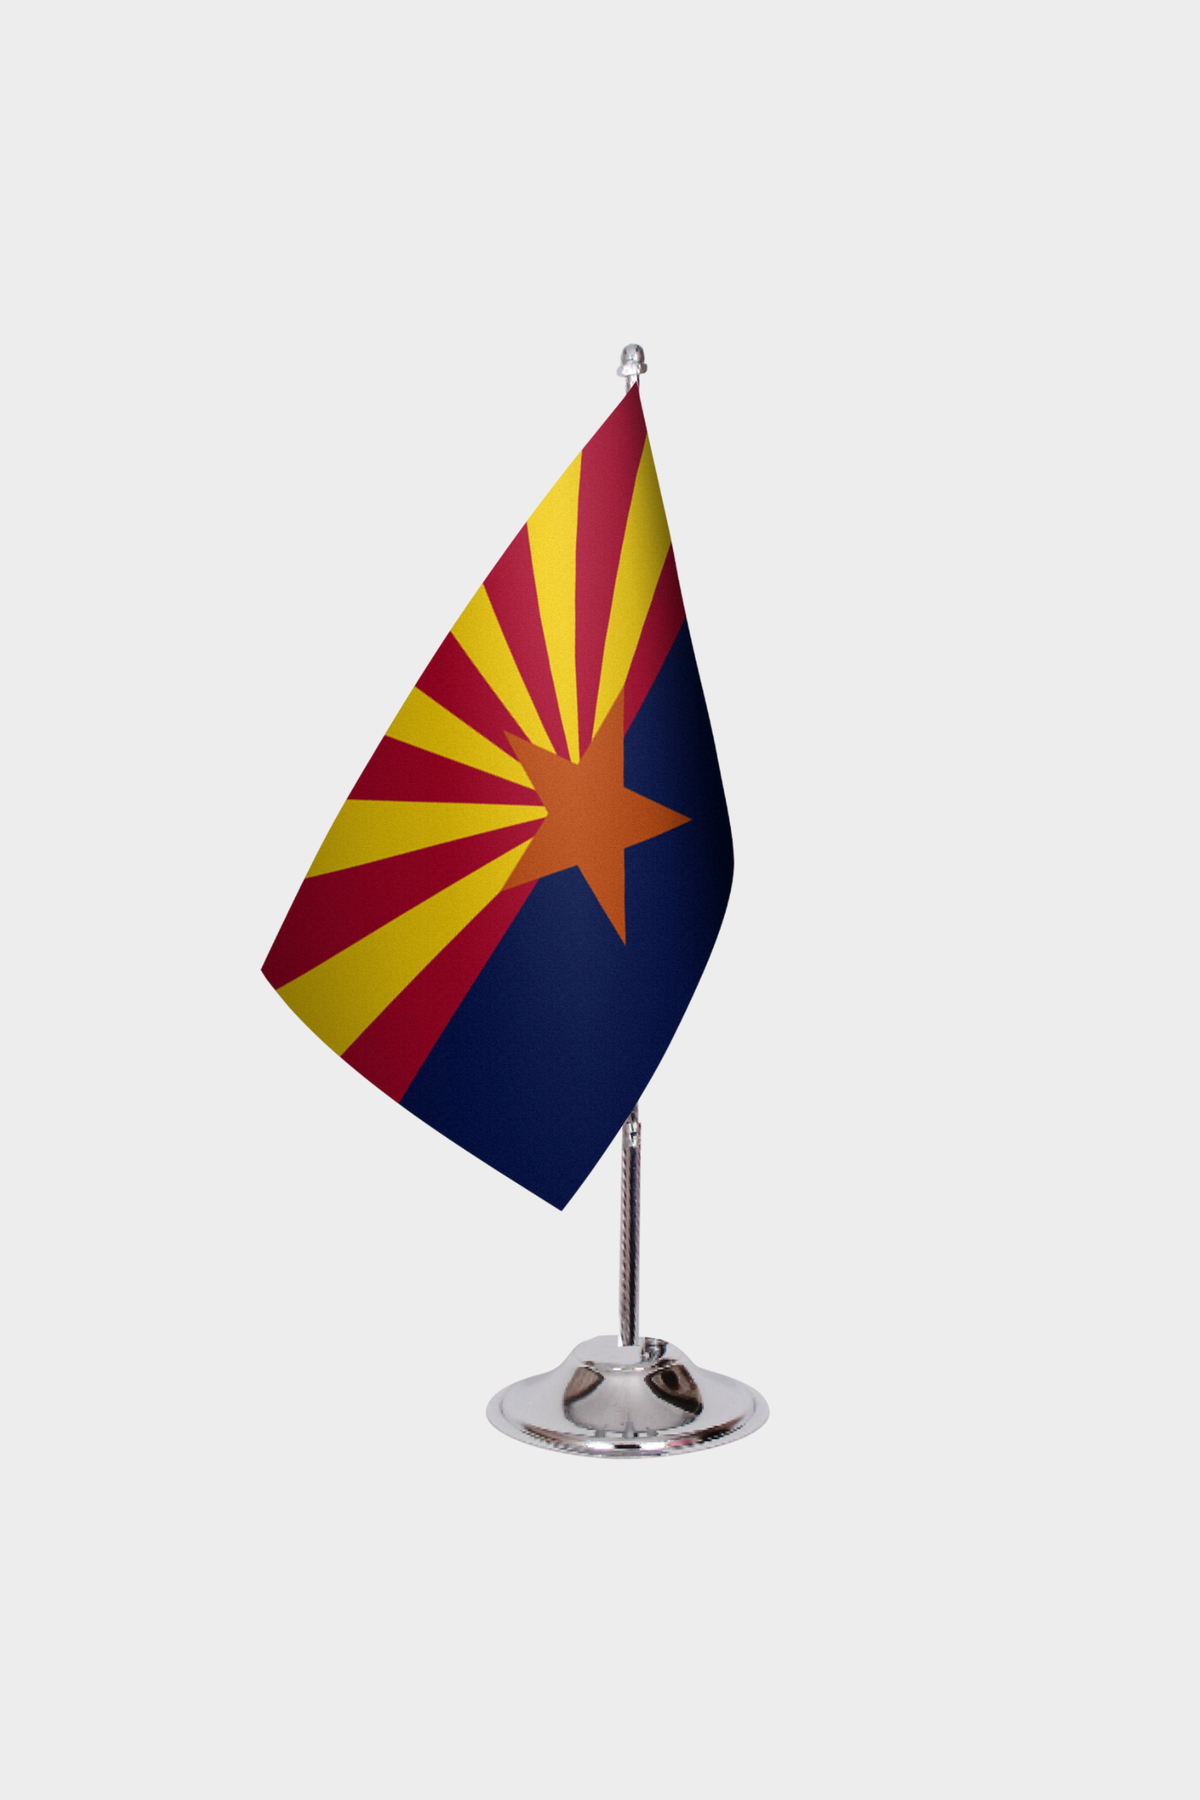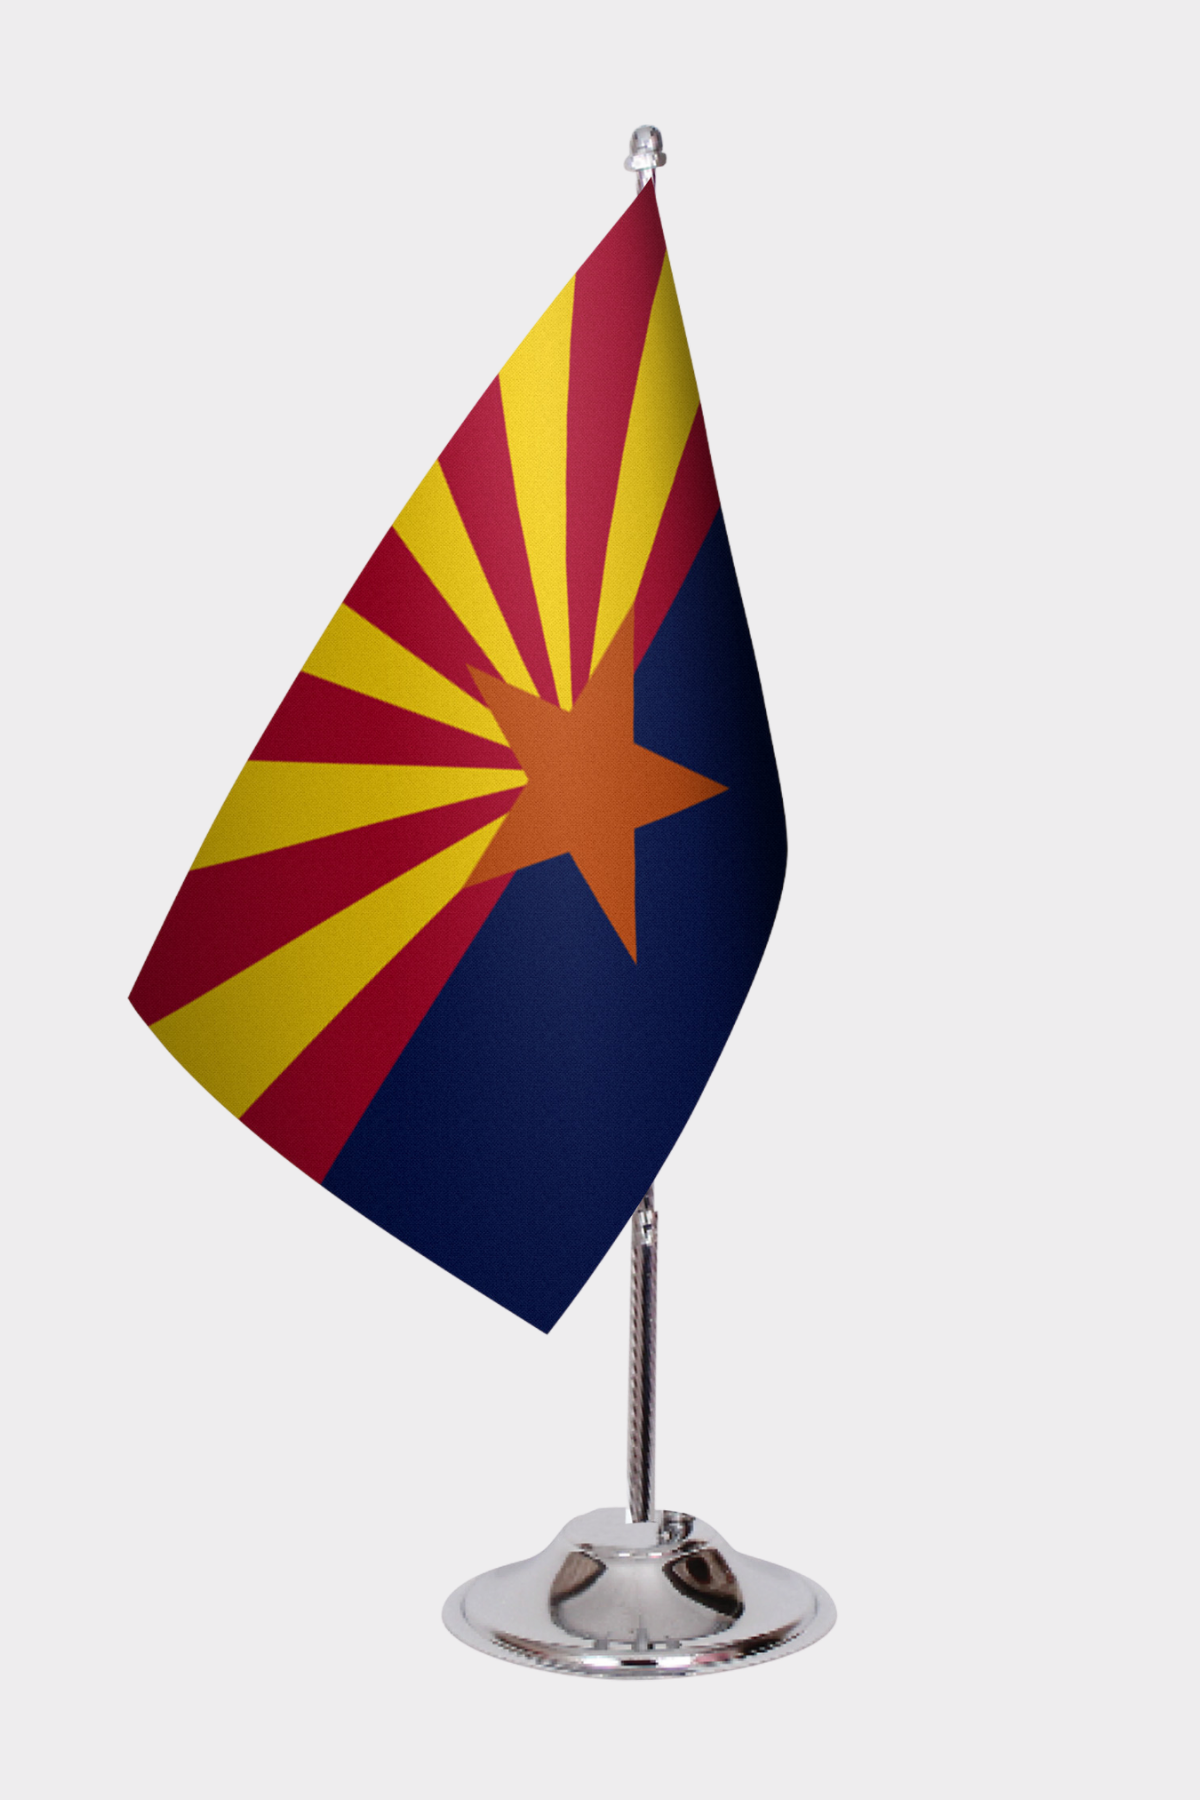
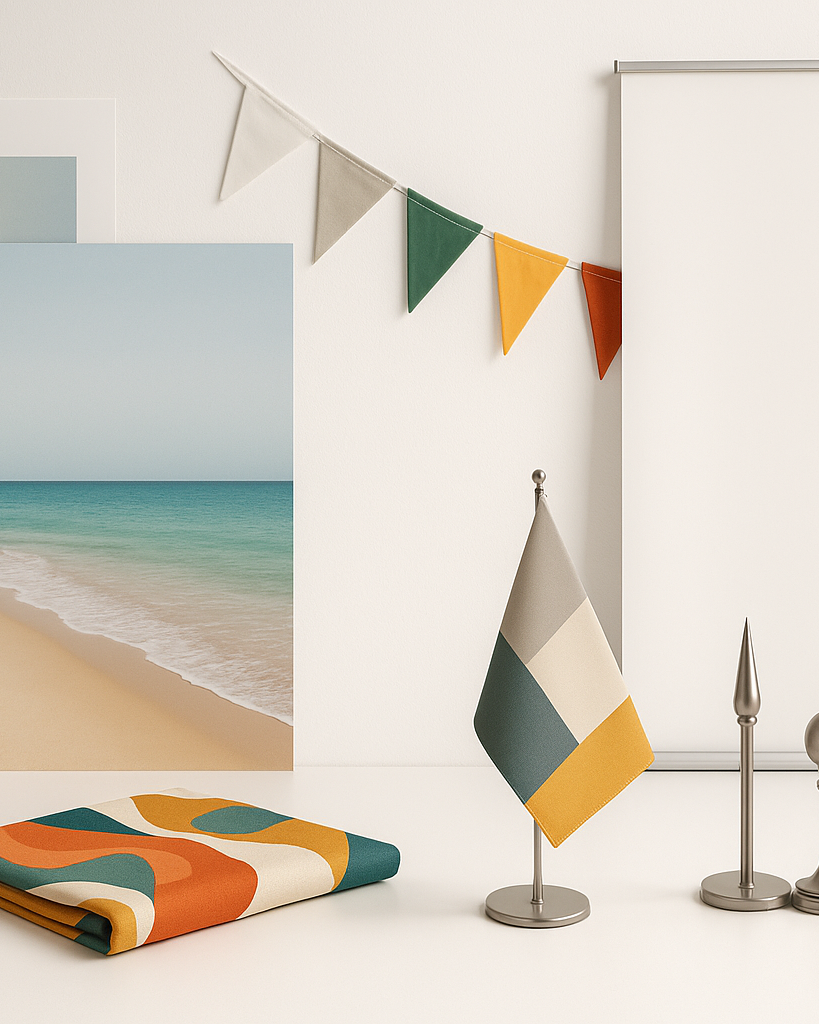



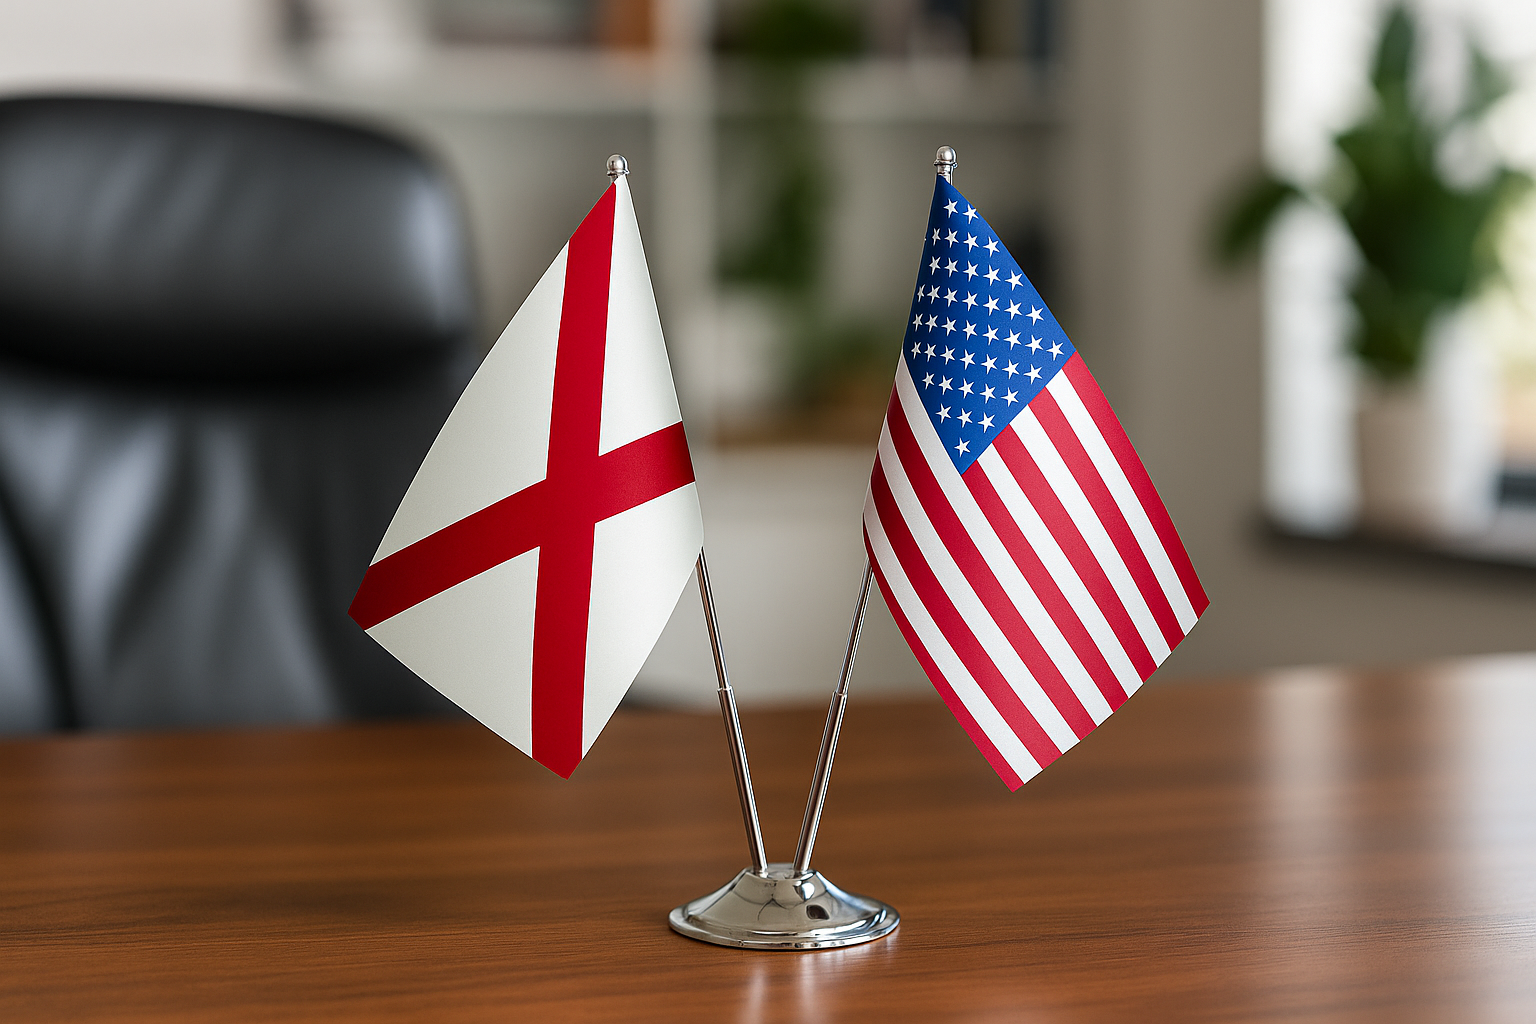




Hanging a garden flag correctly takes less than five minutes when you have the right hardware — the key is matching your hanger type to your soil, surface, and flag size before you begin. Whether you're decorating a front-yard bed, a porch planter, or a gravel path border, this guide walks you through every step, from choosing the right stake to keeping your flag flying straight all season. If you're still choosing between flag styles, browse the full Flags collection at Asya Bayrak to find the right design before you start thinking about hardware.
What You Need Before You Start Hanging a Garden Flag
Before driving a single stake into the ground, you need three things: the correct hanger style for your mounting surface, a flag sized to that hanger, and a clear idea of where sunlight and wind come from in that spot. Getting these details right upfront prevents the most common problems — a flag that spins endlessly around the pole, a stake that leans after the first rain, or a flag too large for its stand to hold level. Garden flags come in two dominant standard sizes: 12 × 18 in (30 × 46 cm) and the larger 13 × 18 in (33 × 46 cm). If you haven't locked in your size yet, the sibling article on Garden Flag Sizes and Standard Dimensions covers the full breakdown, including how stake height should scale with flag size.
For hardware, you'll typically choose between three hanger types. A two-arm garden flag stand (the most common) uses two horizontal metal arms that slip through a sleeve or two loops on the back of the flag. A single-arm bracket mounts to a wall, fence post, or planter and lets the flag hang from a dowel rod. A spinner-style stand allows 360-degree rotation, which reduces wind resistance but can cause the flag to wrap if the swivel mechanism is low quality. You'll also want to gather: a rubber mallet or dead-blow hammer for driving stakes into firm soil, a level (optional but useful for bracket mounts), and zip ties or flag-stop rings if you plan to prevent wrapping.
Step-by-Step Instructions for Hanging Your Garden Flag
The right sequence makes the difference between a flag that stays put for six months and one you're adjusting every week. Follow these steps in order regardless of which hanger type you're using.
Step 1 — Choose your location. Pick a spot with at least 2 ft (60 cm) of clearance on all sides so the flag can unfurl without catching on shrubs, fencing, or the house wall. South- and west-facing spots get the most sun exposure, which matters for UV-sensitive dyes. If your flag will be in direct sun all day, choosing a fade-resistant fabric is worth the investment — for a comparison, see the sibling article on Nylon and Polyester Garden Flags Compared.
Step 2 — Prepare the stake or bracket. For ground stakes, use a rubber mallet — not a metal hammer — to drive the stake straight down, checking vertical alignment with your eye or a level. In sandy or loose soil, drive the stake at least 10 in (25 cm) deep; in clay or compacted soil, 7–8 in (18–20 cm) is usually sufficient. For wall or fence brackets, pre-drill pilot holes slightly smaller than your screw diameter to prevent wood splitting, then secure with rust-resistant exterior screws.
Step 3 — Thread the flag onto the arms. Slide the top sleeve of the flag over the upper arm first, then the lower sleeve over the bottom arm. The flag face should point outward (away from the stake). On single-dowel hangers, thread the dowel through the top sleeve pocket and rest both ends on the bracket hooks. Pull gently on the bottom corners to remove wrinkles — most garden flag fabrics relax within 24 hours of hanging.
Step 4 — Set the height. The bottom edge of a 12 × 18 in (30 × 46 cm) flag should clear the ground by at least 6 in (15 cm) to prevent mud splash and contact with damp soil. For planter-mounted brackets, aim for the flag's midpoint to sit at eye level from the walkway — typically 30–36 in (76–91 cm) above grade.
Step 5 — Test for wrapping. Give the flag a gentle spin by hand. If it wraps around the pole on release, your stand's arm separation is too narrow for the flag width, or you need flag-stop rings (small plastic rings that clip around the pole just outside the sleeve to limit rotation). This is covered in more detail in the FAQ below.
 Mounting a larger outdoor flag in a garden setting follows the same core principles but demands heavier hardware. The USA Outdoor Flag is a great example of a flag built with reinforced header construction and brass grommets designed to handle real outdoor conditions — including wind gusts that would stress standard garden-weight hardware. If you're pairing a full-size outdoor flag with a garden-style ground stake rather than a traditional flagpole, make sure your stake is rated for the flag's wind load, typically marked in the product specifications as a maximum flag size in square feet. For a 3 × 5 ft (91 × 152 cm) flag, a stake diameter of at least 1 in (2.5 cm) and a total stake length of 24 in (61 cm) or more is recommended. Installing outdoor flags in garden settings also introduces additional UV exposure considerations that affect how long your flag's colors remain vivid — quality construction, like the double-stitched edges on the USA Outdoor Flag, extends usable life from the typical 6–9 months of a budget flag to 18–24 months or longer.
Common Mistakes That Lead to a Leaning, Spinning, or Faded Flag
The three most frequent installation mistakes are driving the stake at an angle, using a stand with arms spaced too close together, and leaving the flag out during severe weather without any protection. A stake driven even 10–15 degrees off vertical will lean noticeably within a week in any soil that experiences rain cycles — once the soil loosens and recompacts, it sets the stake at its installed angle permanently. If your stand is already leaning, the blog post on How to Stop a Garden Flag Stand from Leaning covers corrective techniques including soil anchors and concrete collars for chronic lean problems.
Arm spacing is the second major issue. Most two-arm stands have arms spaced 10–11 in (25–28 cm) apart. A 12 × 18 in (30 × 46 cm) flag uses that space correctly. If you place a narrower boutique flag (some decorative flags are only 11 in / 28 cm wide) on a wide-arm stand, the flag has too much horizontal slack and will billow and wrap constantly. Conversely, forcing a wider flag onto a stand with arms spaced too close causes the fabric to bunch and the bottom sleeve to pull upward, making the flag hang at an angle. Always verify that your flag's sleeve width matches the stand's arm spread before purchasing either component.
The third mistake is ignoring UV degradation timelines. Most printed garden flags, even quality ones, begin showing noticeable fading after 80–120 hours of direct UV exposure if they are not rated as UV-resistant. Flags described as "80% UV resistant" or treated with UV-inhibitor coatings can realistically last 6 months to 2 years of outdoor display depending on climate zone. In high-UV regions (USDA zones 9–11, or high-altitude areas above 5,000 ft / 1,524 m), rotate seasonal flags every 3 months and store off-season flags in a breathable fabric bag away from direct light.
Safety and Durability Practices That Extend Your Flag's Life
The single most effective durability practice is bringing your garden flag indoors — or at minimum covering it — during any storm with wind speeds above 25 mph (40 km/h). Garden flags are not engineered to the same structural standard as outdoor flagpole flags; their lightweight fabric and narrow sleeve construction are optimized for gentle, decorative movement, not sustained high-wind resistance. A flag left out during a thunderstorm can suffer torn sleeves, broken stitching at stress points, or color abrasion from contact with the wet stake — all damage that is irreversible and not covered by typical manufacturer warranties.
For cleaning, handwashing is the safest method for most garden flag fabrics. Fill a basin with cool water and a small amount of mild detergent, submerge the flag, and gently agitate without scrubbing the printed face. Rinse thoroughly until no soap remains, then hang flat to air dry — never put a garden flag in a dryer, as heat causes polyester to shrink slightly and nylon to lose its shape memory. If the flag has developed mildew spots from extended damp storage, a diluted white vinegar solution (1 part vinegar to 3 parts water) applied with a soft cloth removes most surface mildew without damaging the ink layer. Machine washing on a delicate cold cycle in a mesh laundry bag is acceptable for plain-weave polyester flags, but avoid it for any flag with metallic inks, embroidery, or appliqué details.
Inspect your hardware at the start of every season. Look for rust on stake joints, cracked welds at the arm-to-stake connection point, and any play or wobble in the arm swivel. A stake with a cracked weld at the arm joint should be replaced rather than reinforced — under wind load, a cracked weld can fail suddenly and the falling stake can damage nearby plantings or injure a pet. For wall-mounted brackets, check that all screws remain snug and that no wood fibers around the mounting holes have deteriorated, which is common in cedar and pine after two or three frost cycles.

Flags Collection
Find outdoor and decorative flags in a range of sizes and materials, designed for long-term display in real weather conditions.
Browse Collection →When You Should Call a Professional Instead of DIYing the Installation
Most garden flag installations are genuinely DIY-friendly, but three scenarios call for professional help: permanent in-ground concrete footings, mounting into masonry or stucco walls, and installations subject to local permit requirements. If you want a garden flag displayed year-round on a dedicated decorative post set in concrete, the footing depth and diameter must account for local frost depth (in USDA zones 4–6, frost can penetrate 36–48 in / 91–122 cm into the ground) — undersized footings heave and crack over winter, which will tip and potentially destroy an expensive post. A landscaper or fencing contractor can pour a proper footing in under an hour and the cost is typically well worth avoiding a post replacement two winters later.
Masonry mounting — attaching a bracket to a brick wall, concrete block, or stucco surface — requires a hammer drill with masonry bits, appropriate anchor bolts (sleeve anchors or wedge anchors for brick, plastic expansion anchors for stucco), and knowledge of where NOT to drill (near mortar joints in older brick, which are often weaker than the brick itself). A bracket installed with the wrong anchor into stucco will pull out under the cyclic wind load a flag produces, potentially taking a chunk of the wall surface with it. For detailed bracket angle and sizing guidance before you buy hardware, the post on Flag Holder Angles and Bracket Sizes is a useful reference. If you're uncertain after reading it, a handyman service is the safer call.
Local ordinances occasionally regulate flag displays — not the flag's content (which is protected speech in the United States under the Freedom to Display the American Flag Act of 2005), but physical installation details like post height, setback from the property line, and number of flags displayed simultaneously. HOA communities in particular often have rules limiting garden stake height to 36 in (91 cm) or requiring stakes to be set back at least 24 in (61 cm) from the sidewalk edge. Always check your HOA covenants and local zoning code before committing to a permanent installation.
What type of garden flag hanger works best for most yards? +
How do you clean a garden flag without ruining the print? +
How do you use a flag to mark or decorate a garden bed? +
How do you keep a garden flag from wrapping around the pole? +
How do you keep a garden flag from sliding off the pole arms? +
Can you use a garden flag stand in a planter or pot? +
How long does a garden flag typically last outdoors? +
Getting a garden flag to hang straight, stay put, and last through multiple seasons comes down to hardware that fits the flag, a correctly set stake, and basic seasonal care. For flag options built to handle real outdoor conditions, explore the full Flags collection at Asya Bayrak, including the USA Outdoor Flag for patriotic display and the Country Flags collection for international designs. If you're planning a more involved pole setup — for a larger flag or a permanent yard installation — the guide on stopping a garden flag stand from leaning is the logical next read. Bulk pricing is available for corporate orders, event installations, or landscape companies managing multiple flag displays across properties — contact Asya Bayrak directly for volume quotes.